Table of contents
Your package includes:
Your LoRaWan gateway
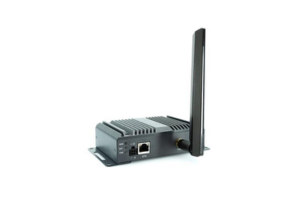
Provided with its external power supply (in a separate box).
Your LoRaWan sensors
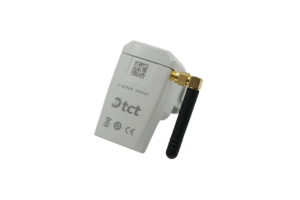
Provided with preinstalled LoRa antenna.
1. Connect the gateway
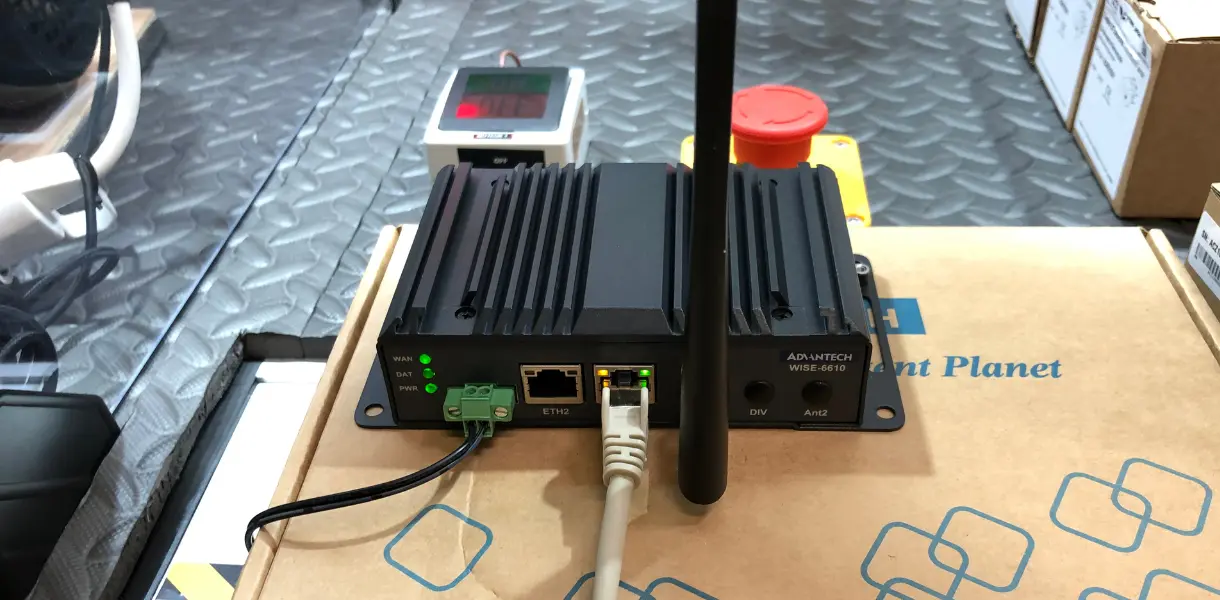
1. Install the antenna provided in the box.
2. Connect your Ethernet network to the ETH1 port.
3. Power the gateway using the external power supply provided (in a separate box).
The ETH2 port is used to access the machine's configuration interface. Once connected, go to 192.168.1.1 to open the configuration interface. The default username and password are admin/admin.
2. Install the sensors
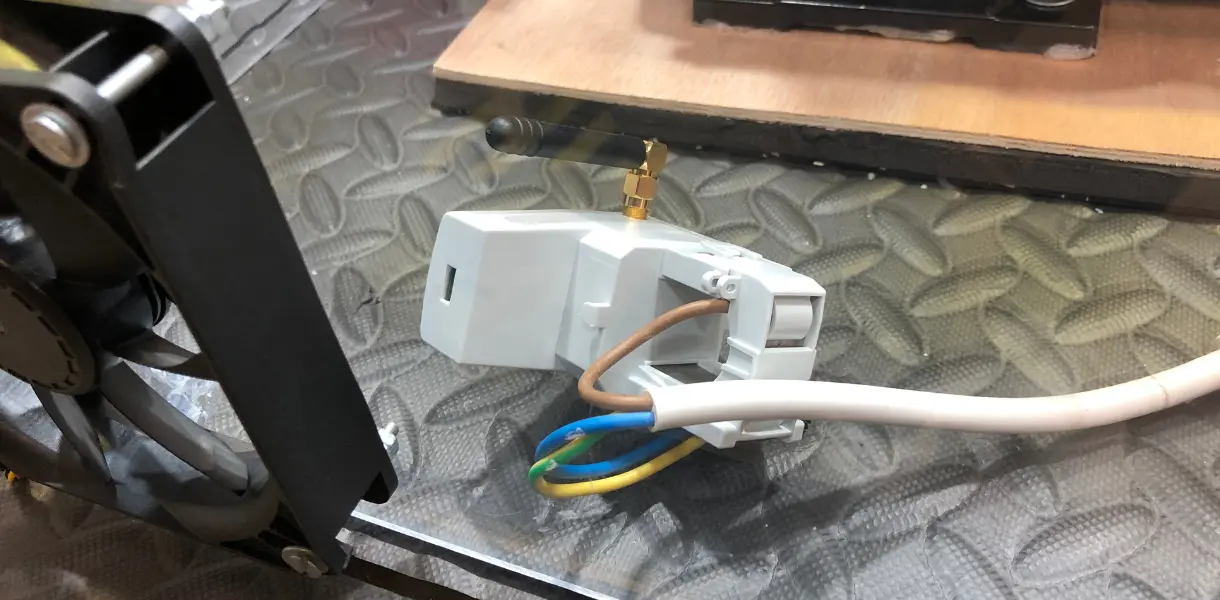
1. Install your sensors around a cable.
2. (Optional) Connect the temperature probe provided with the sensor.
The standalone sensors are powered by the current from the cable. A minimum current of 1.5 amperes is required to effectively power the sensors. During the initial startup, it may take several minutes to observe the first data transmissions. The higher the current intensity, the faster the sensor will become operational.
Sensors' configuration mobile application
User manual of the sensors
3. View the dashboards
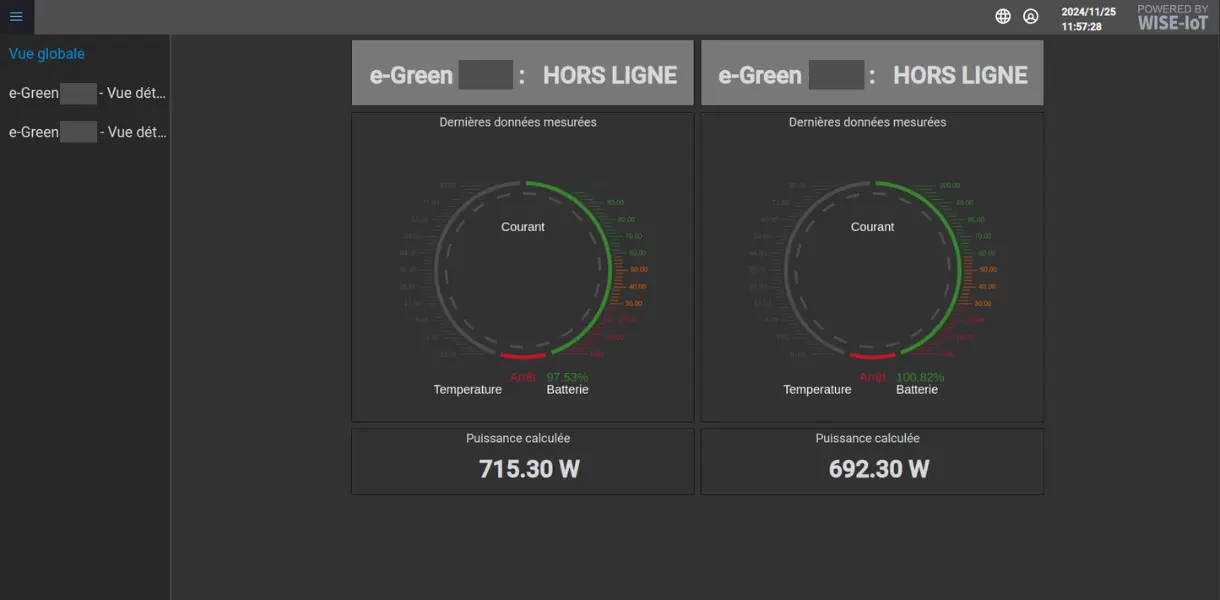
1. Log in to the address you received by email, using your credentials.
2. View your dashboards.
2. View your dashboards.
The overview view displays a summary of your sensor fleet's data (last 15 minutes). The detailed views allow you to view the data history for each individual sensor.
For any technical questions or support needs
or
Discover our ready to resell solutions

Customized solutions
You have a very specific project, very precise needs, need expertise ? Let's talk !
Contact us